

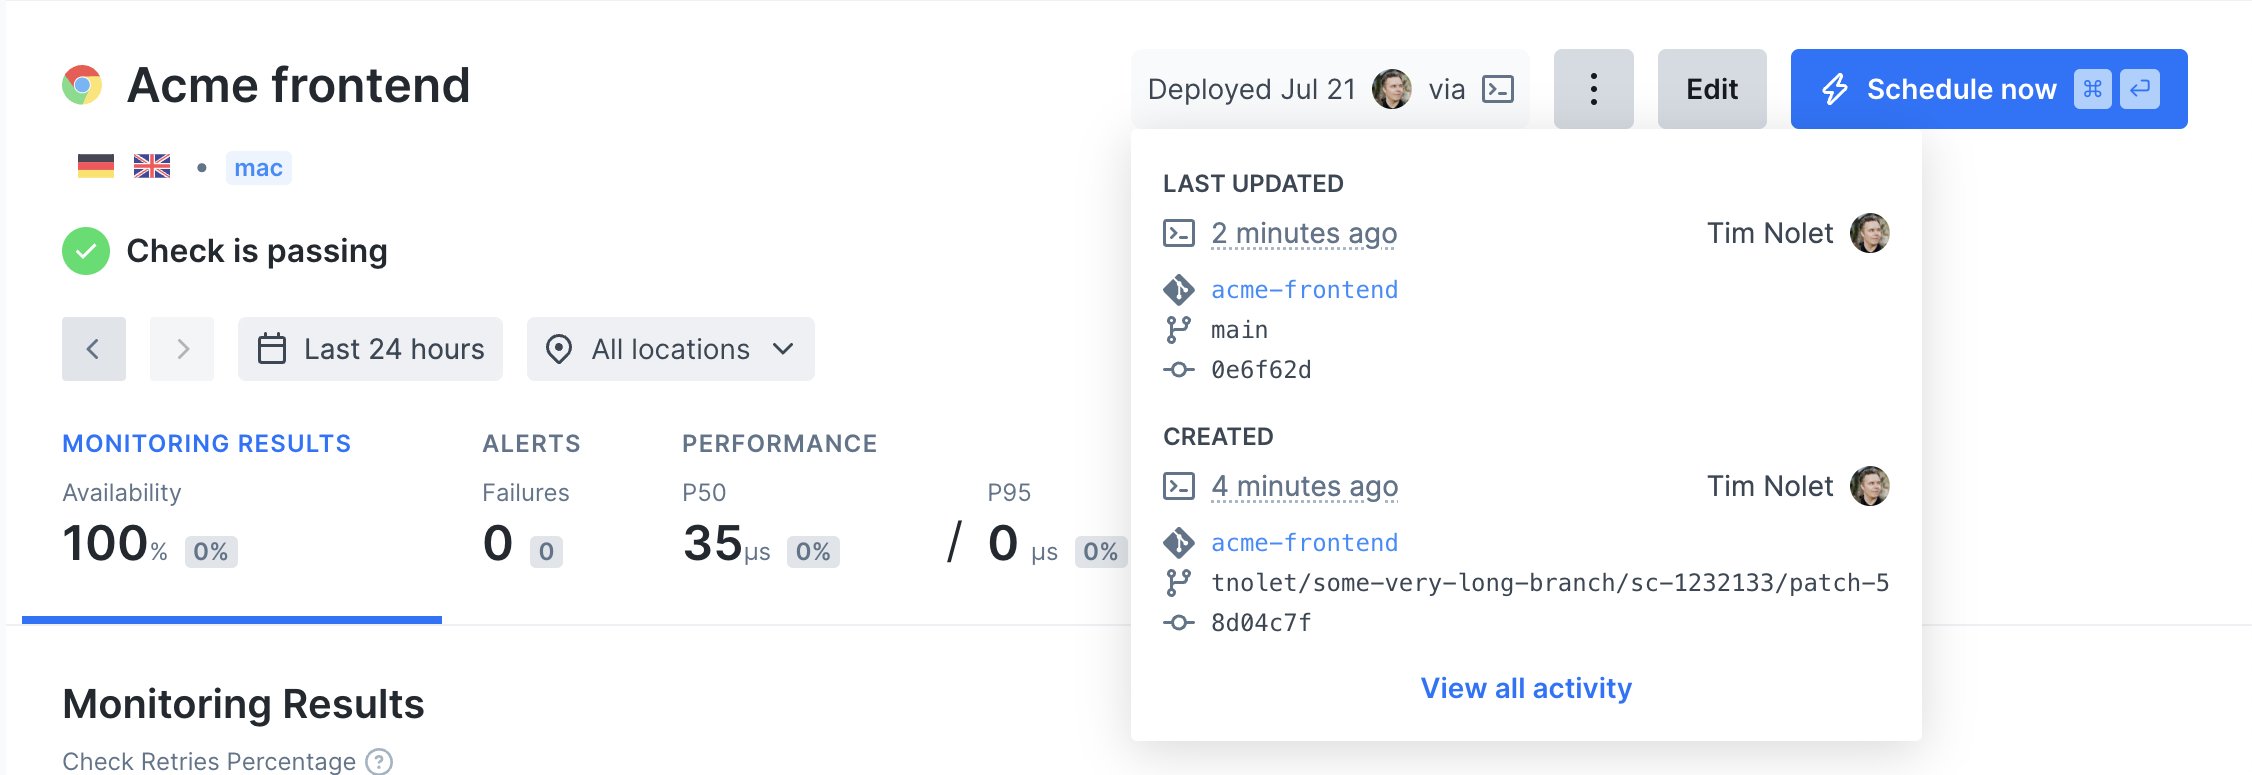
branch, commit sha, owner and more when executing the test --record and deploy commands. This way you can keep track of
your test sessions and deployed resources in the UI and cross-reference them with any updates to your code.
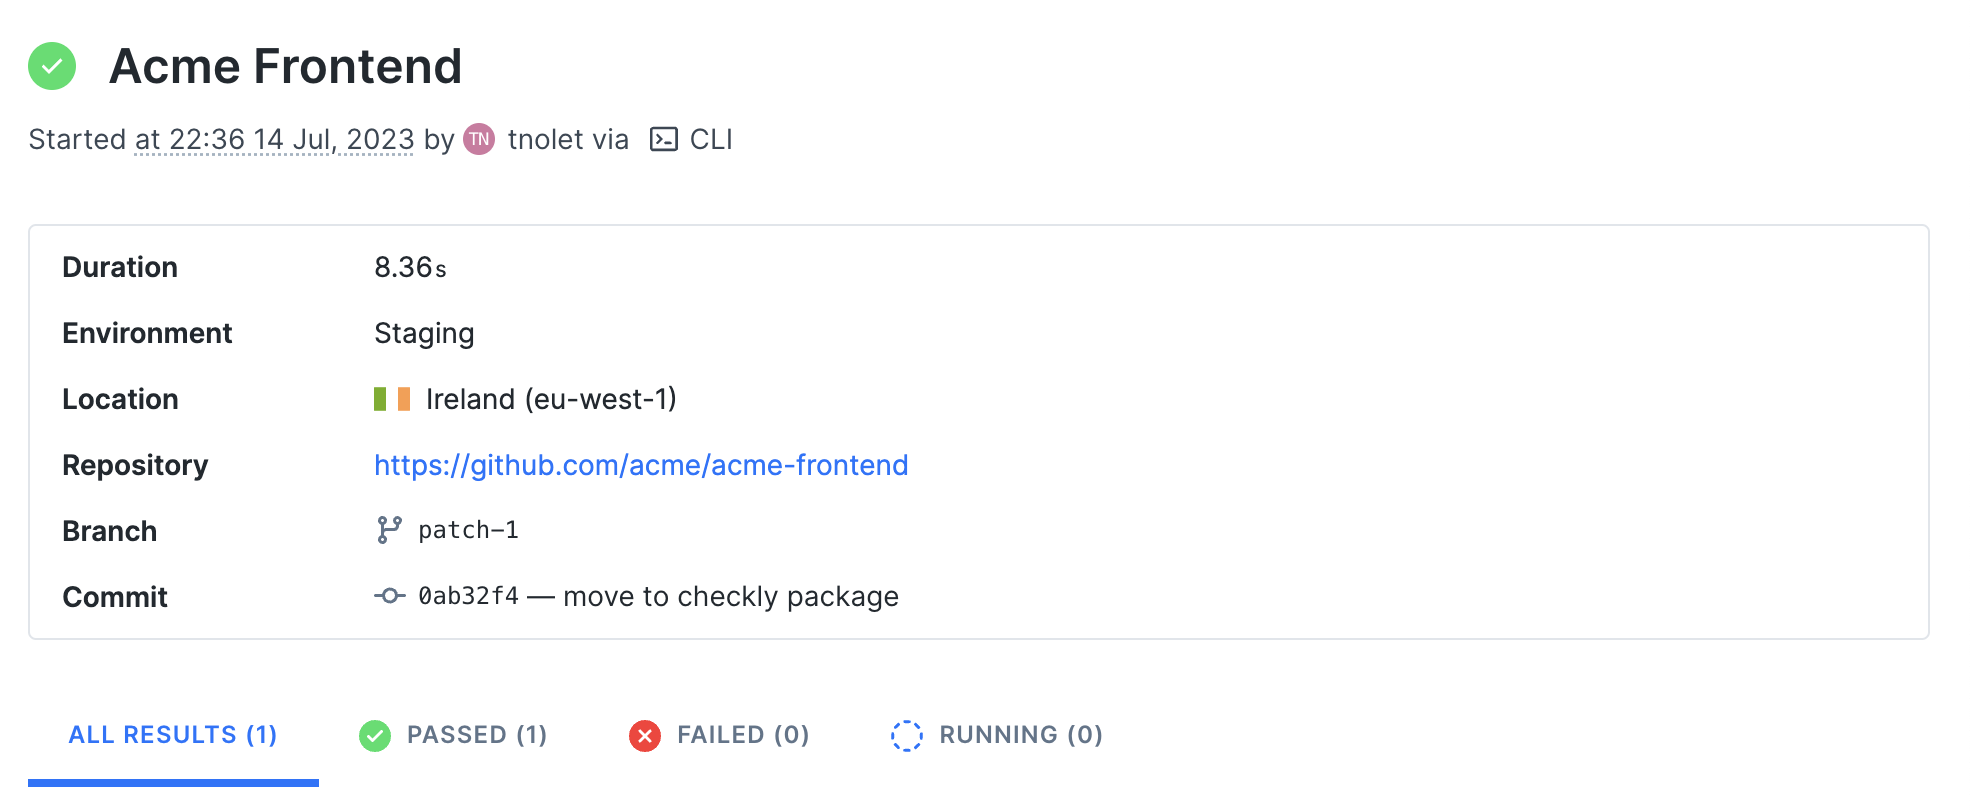
For example, in the screenshot below we ran a test session from our CI server after the project was deployed to our
Staging environment with the npx checkly test command.
npx checkly deploy.
Environment variables
The CLI will attempt to auto-detect and parse git specific information from your local machine or CI environment, but you can also set these data items specifically by using environment variables.
For example, if you want to specifically set the Environment you invoke:
Terminal
Terminal
Working with multiple repositories
Eachcheckly test --record or checkly deploy invocation attaches metadata for a single repoUrl. If your monitors span multiple source repositories (for example, a backend repo and a frontend repo), run the CLI separately from each repository’s CI pipeline and set CHECKLY_REPO_URL (and the other git variables) to point at the repo that owns the checks being tested or deployed in that pipeline.
Terminal
--tags and check-file globs in checkly.config so that a deploy from one repo only touches its own checks.